Stamp Tool
Written By Philipp Brockerhoff
Last updated 16 minutes ago
The Stamp Tool is used to place, edit, and arrange image assets on your map. Use it to add mountains, trees, terrain features, buildings, interiors, props, and other map elements, from the Stamp Catalog. New stamps are always placed on the currently active Object Layer.
Select the Stamp Tool by clicking its icon in the toolbar or pressing O.
Select a stamp from the Catalog, then click anywhere on the map to place it. Once placed, a stamp can be selected again at any time with the Select Tool to edit its appearance, position, or other properties.
Choosing Stamps
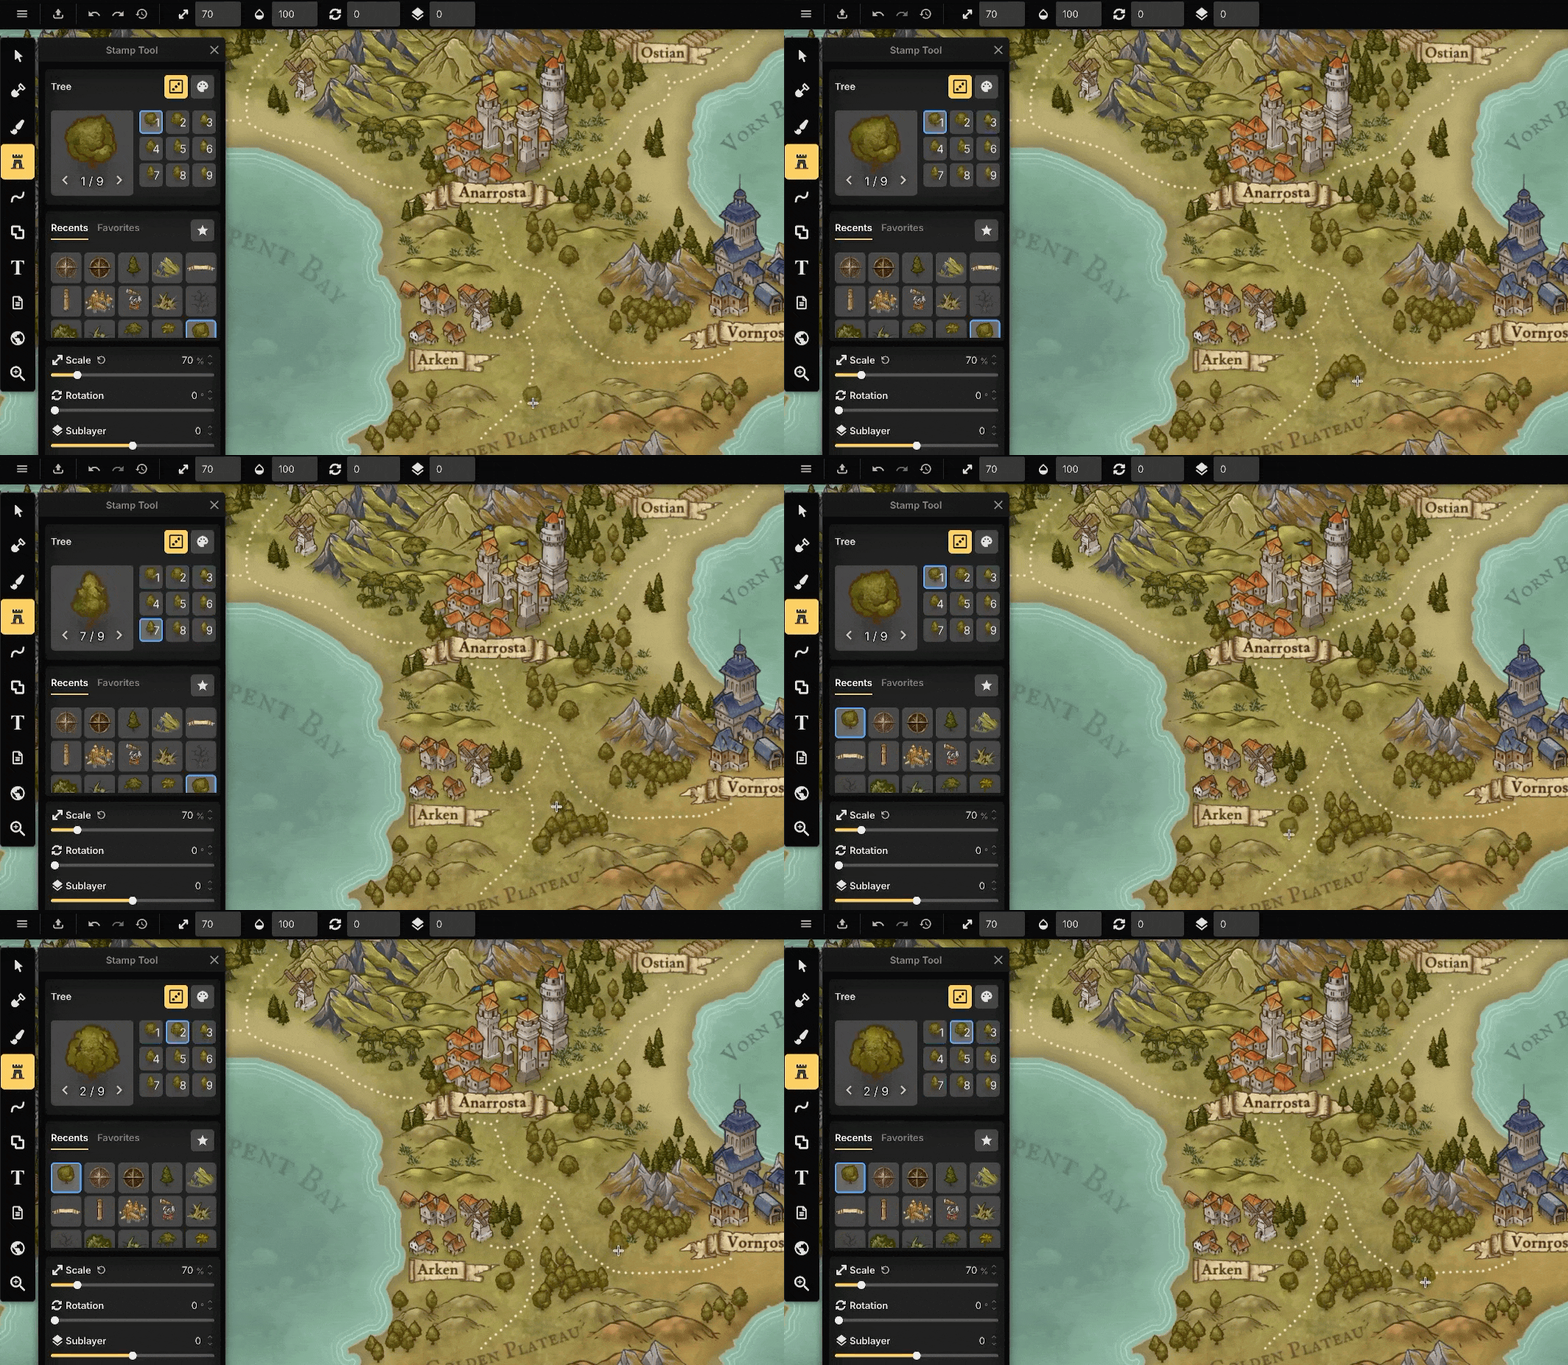
Click the stamp preview in the Tool Panel or press F to open the Catalog. Select a stamp or Stamp Set, then click anywhere on the map to place it.
Stamp Sets
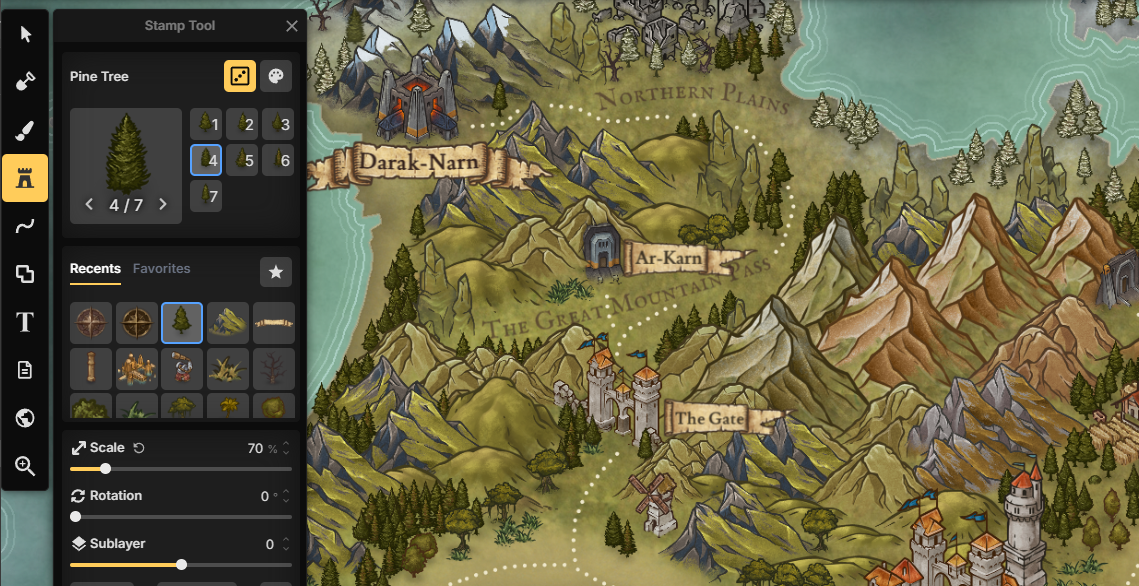
A Stamp Set is a collection of related stamps, called Child Stamps. Stamp Sets are used to group variations of the same asset, or assets that are closely related thematically, making it easy to add natural variety while building your map. Common examples include trees, rocks, bushes, and other repeating objects.
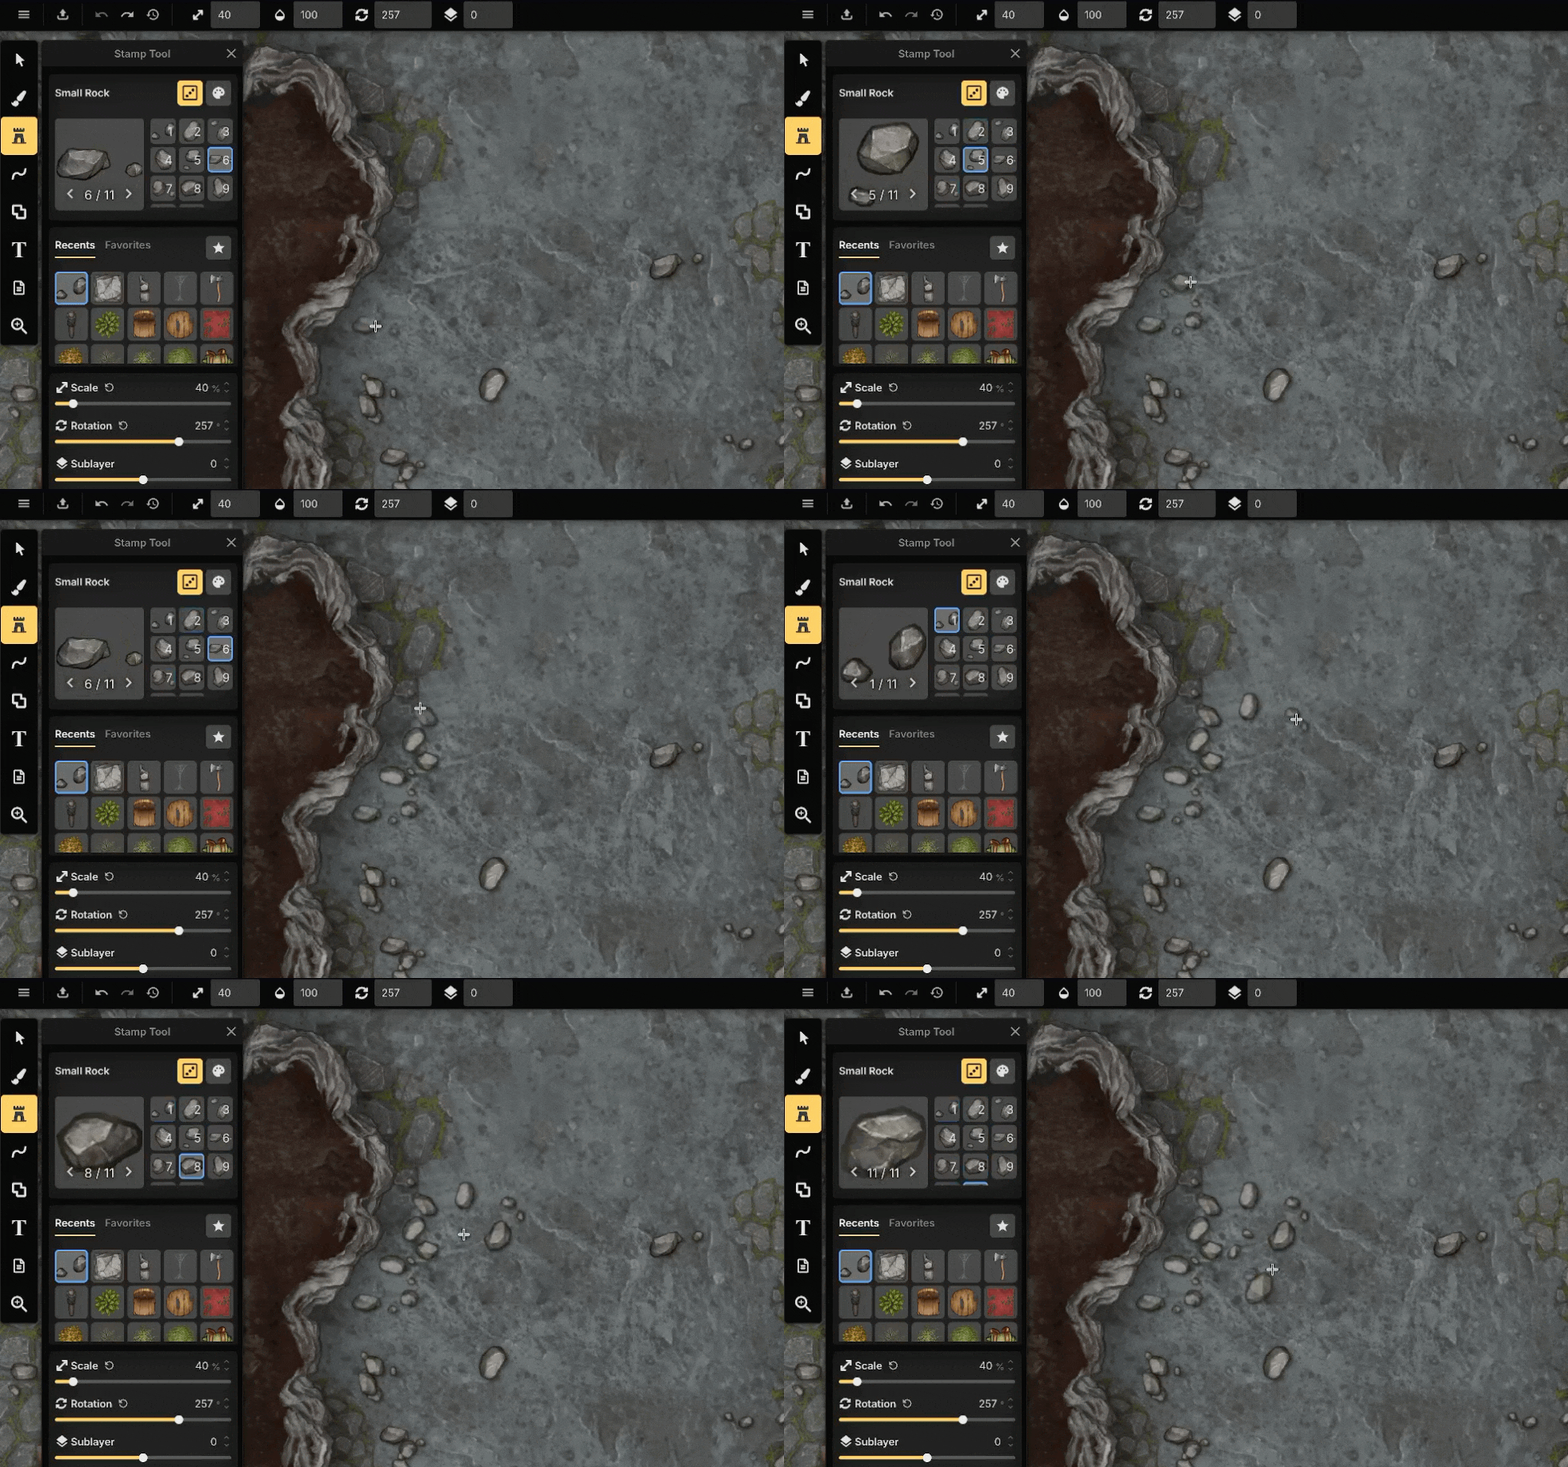
Stamp Sets support all of the same placement and appearance options as individual stamps. By default, a random Child Stamp is selected each time a new stamp is placed, creating natural variation automatically. You can also select and place a specific Child Stamp when needed. Use Alt + Mouse Wheel to quickly cycle through the available Child Stamps in the selected Stamp Set.
Recently Used
The Recently Used section displays the stamps and stamp sets you have used most recently, including all applied settings. This makes it easy to switch between objects without having to configure them again.
Favorites
Save stamps and stamp sets as Favorites to reuse them across multiple maps.
Favorites store the selected stamp or stamp set together with all of its customized settings, such as scale, rotation, offsets, and color adjustments. Saved favorites are available in all maps and scene styles.
Placement Properties
Placement Properties control the position, size, orientation, and display order of a stamp. These properties can be adjusted before placing a new stamp or after selecting an existing one.
Scale: Adjust the size of the stamp. Assets within the same style are designed to work together at a consistent scale, so in most cases using the same scale produces natural results. Press
W/Sto adjust the stamp scale. HoldShiftto adjust it in increments of 10. Alternatively you can holdShift + Mouse wheelto change the scale.Rotation: Rotate the stamp to any angle. Press
</>to adjust the rotation in increments of 15°. HoldAltto adjust rotation in increments of 1. Alternative you can holdCtrl (+ Alt) + Mouse Wheelto change the rotation.Rotation Randomization: Apply a random rotation to each newly placed stamp.
Sublayer: Control the display order within the active Object Layer. See Object Layers for more information.
Flip: Flip the stamp horizontally or vertically.
Transform: Stretch or shrink the stamp horizontally or vertically.
Paid Feature
The Transform Properties are available with a paid subscription.
Appearance Properties
Appearance Properties change how a stamp is rendered without changing the underlying asset or its placement. Available properties include:
Opacity: Adjust the transparency of the stamp. A value of 100 is fully opaque, while 0 is fully transparent. Press
E/Dto adjust the opacity. HoldShiftto adjust it in increments of 10Shadow Type: Choose how the stamp’s shadow is rendered. See Shadow Options for details. Available options include:
None: Disables the shadow
Layer Shadow: Use the shared shadow from the active Object Layer. (See Shadow Options)
Default Object Shadow: Use the scene style’s default Object Shadow settings.
Custom Object Shadow: Uses the stamps custom defined shadow, or a user configured a custom Object Shadow for this stamp.
Blend Mode: Control how the stamp blends with the colors and textures beneath it. See Blend modes for more information
Blur: Apply a blur effect to soften the appearance of the stamp. Useful when working with multiple elevation levels or focal points within battle maps
Clip Mask: Allows a stamp to blend seamlessly with the surrounding terrain by using the underlying brush texture. This is commonly used to make assets adapt to different terrain textures or blend naturally along coastlines. The Clip Mask option is only available for stamps that support clip masks. See Clip Masks for more information.
Color Adjustments: Color adjustments modify the appearance of the selected stamp. Available adjustments include: Hue, Saturation, Brightness, Contrast
Paid Feature
The Blur and Color Adjustments are available with a paid subscription.
Tool Synchronization
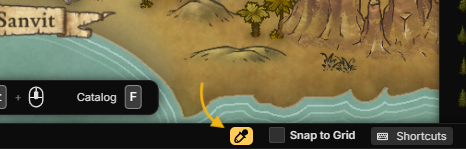
The Sync Tool Options to Selection (The small pipette button available in the bottom panel) setting controls whether the Stamp Tool automatically adopts the properties of the currently selected stamp.
On: When you select a stamp on the canvas and then switch to the Stamp Tool, all of the selected stamp’s properties are copied to the Stamp Tool. Placing a new stamps creates another copy with the same appearance and placement settings.
Off: The Stamp Tool keeps the settings from the last stamp that was placed, regardless of the currently selected object.
The selected mode is remembered across sessions.
Placement Options
Placement settings control how stamps are added to the map.
Continuous Placement: When Place is set to Many, you can click and drag to place multiple stamps in a single movement. This is useful for quickly placing repeated objects such as trees, rocks, or vegetation.
Auto Select: If set to On, newly placed stamps are automatically selected, so you can immediately adjust their properties.
Area & Density
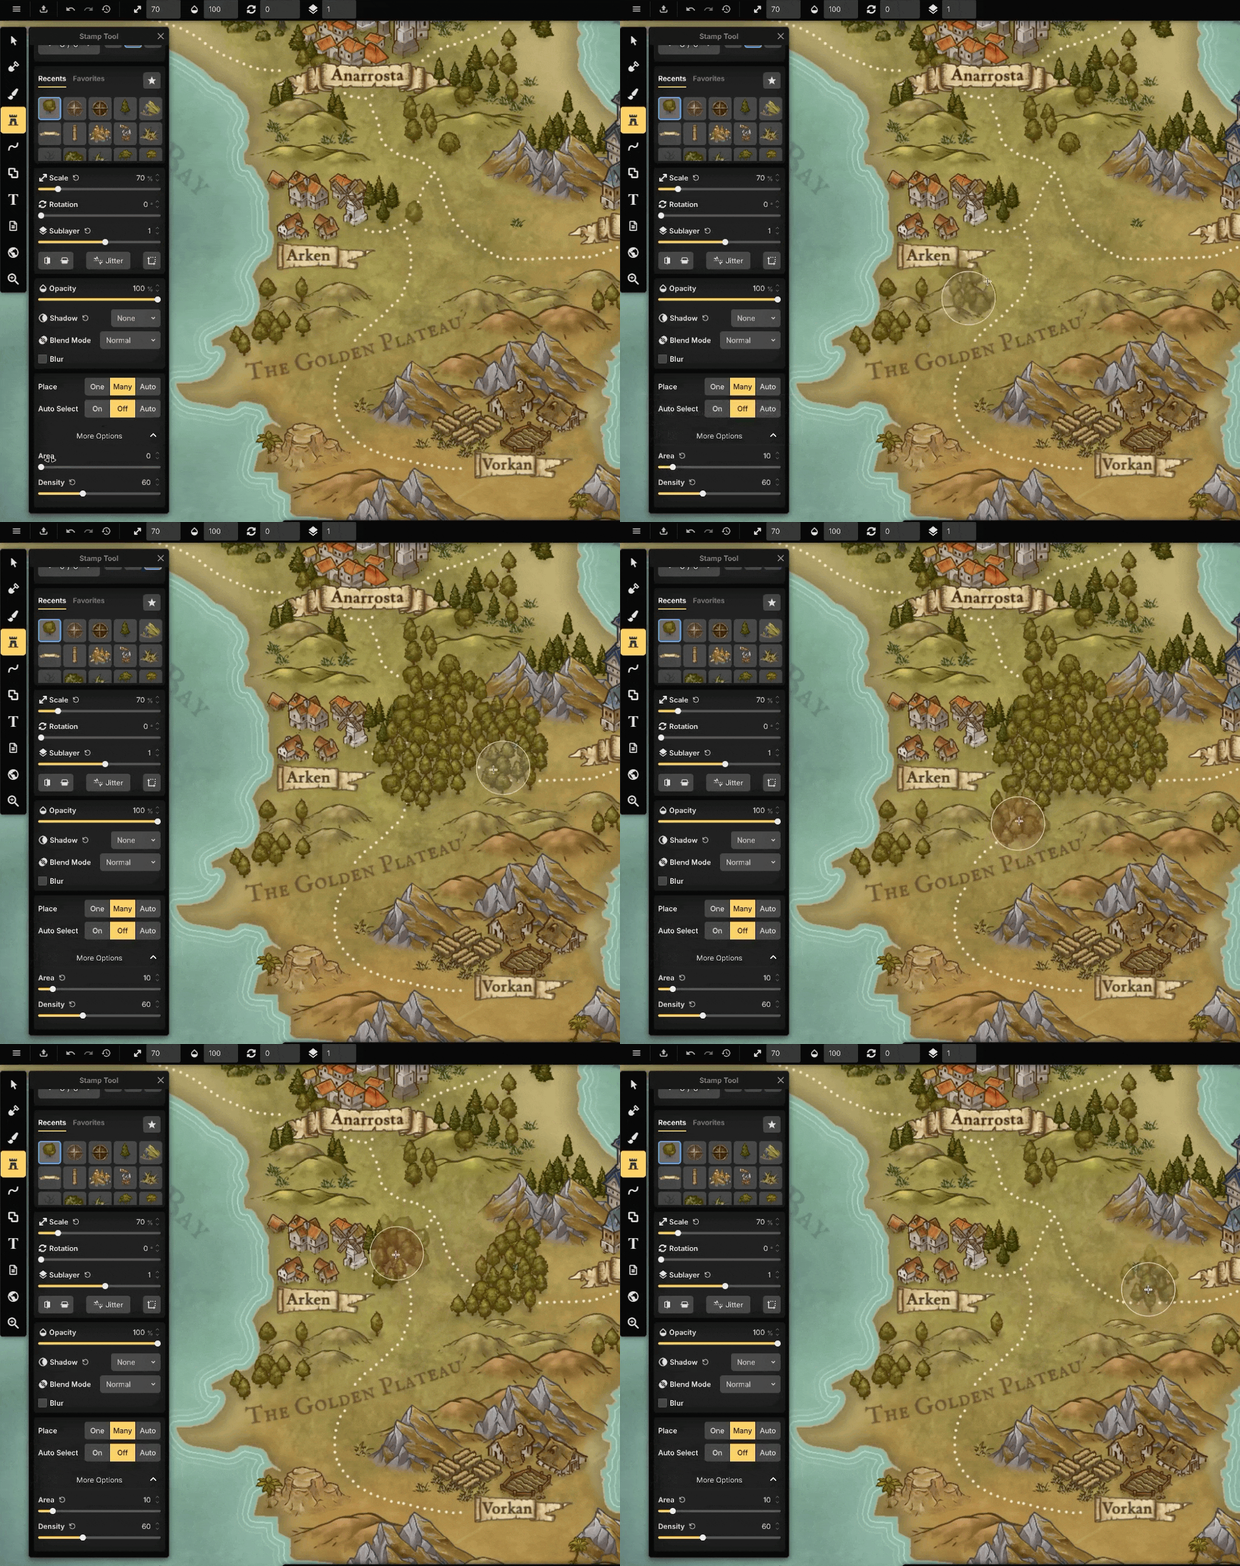
When Place is set to Many, you can expand More Options to access additional brush placement settings.
Area: Controls the size of the placement brush.
Density: Controls how many stamps are placed within the brush area.
Hold Alt while painting to temporarily switch to Erase mode. To use Erase mode, the Area value must be greater than 0. The Erase brush only removes stamps from the currently selected stamp or stamp set.
Paid Feature
The Area & Density feature is available with a paid subscription.
Tips
Place large landmarks first before adding smaller details.
When making a new map, try to set the scale first. For example, if you want your map to cover a lot of terrain, try to reduce the scale and experiment first.”
Use click-and-drag placement to quickly create forests and other dense areas.
Enable rotation randomization to make repeated assets appear more natural.
Organize complex maps using multiple Object Layers instead of placing everything on a single layer.
Enable Sync Tool Options to Selection when you want to duplicate existing objects with all of their customized settings. Disable it if you prefer the Stamp Tool to always continue using the last stamp you placed.
See Also
Clip Masks: Learn how clip strokes and clip fills blend with the underlying terrain.
Catalog: Browse and select assets of different types.
Object Panel: Select, organize, and manage line, shape, and stamp objects on the active Object Layer.
Layers Panel: Create and manage Object Layers, control drawing order, and organize map content.
Was this helpful?
Still need help? Ask the team